Phase II –
the island structure (sounds like something from an aircraft carrier!)
 |
|
We spent
a few minutes with some short pieces of flooring to check out our layout. Using
the actual wood was valuable since sketches and measurements can go awry, but a
block of wood is pretty definitive!
|
 |
|
We sat
the Advantech subfloor up on the sawhorses and marked the cooktop cutout using
a Sharpie marker.
|
 |
|
Using the
same techniques detailed in my earlier blog, I prepared the first course using
the table saw to strip the tongue and the planer/jointer to produce a flat,
smooth edge. The first course is always a solid piece if at all possible!
Using the
Ryobi power miter box, I cut the ends for a perfect fit.
|
 |
|
After
extensive checks and counter-checks, I was satisfied the piece was as properly
aligned as my “finger feeler-gauges” could achieve and I clamped the piece
using a 2X4 top board.
|
 |
|
Once the
first course glue set overnight, I was ready for the second course.
|
 |
| I made an
access cut along the edge of the cook top cutout but left plenty of “meat” to
allow a strong piece. The cutout simply allows clamps to be applied a little
closer. | |
 |
|
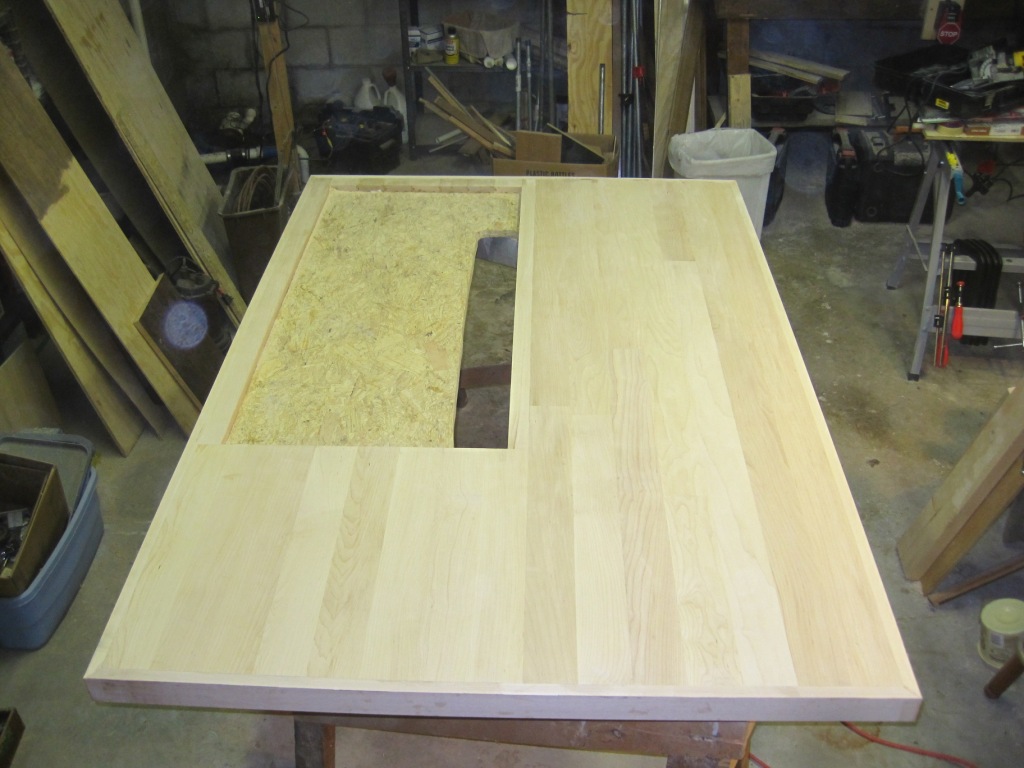
Here’s
the second course glued and laid up. I selected a 2X4 that has a slight bow as
a top clamp press board. I placed the peak of the bow in the center and as I
clamped the ends, the bow helps keep the piece tight against the subfloor. The
tongue & groove will keep the close edge contained. To make sure the far
edge is intimately bonded with the subfloor, I used the same “spring clamp” I
used with the rollaround – a piece of 2X4 loosely clamped at close end and more
firmly clamped at far end. The result is additional down force on the far edge.
A pipe
clamp keeps the join seam tight (the second course is comprised of two boards).
Edge clamping brings the second course in intimate contact with the first.
|
 |
|
Liberal
use of release sheets (plastic grocery bags) will help insure I do not
accidentally glue a pressure block to the maple flooring!
|
 |
|
A couple
of 12” deep throat C-clamps help reach the work more easily. They won’t hold
the same clamping force as the normal C-clamps, but they are sufficient.
|
 |
|
Long shot
of final layup for second course.
|
Next - Additional
courses will be done similarly and I will not update as I go unless I change
some method or other.